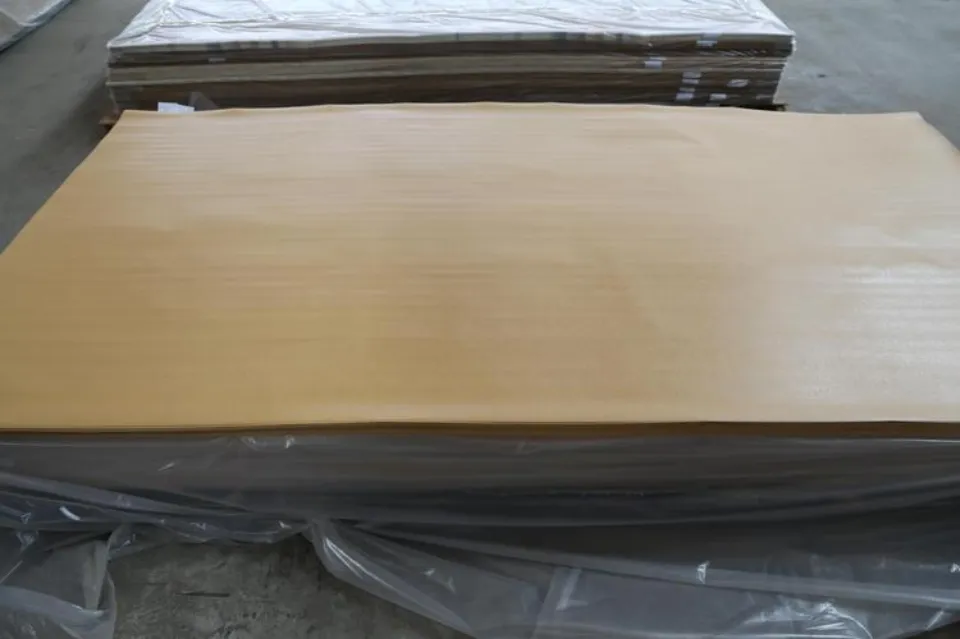
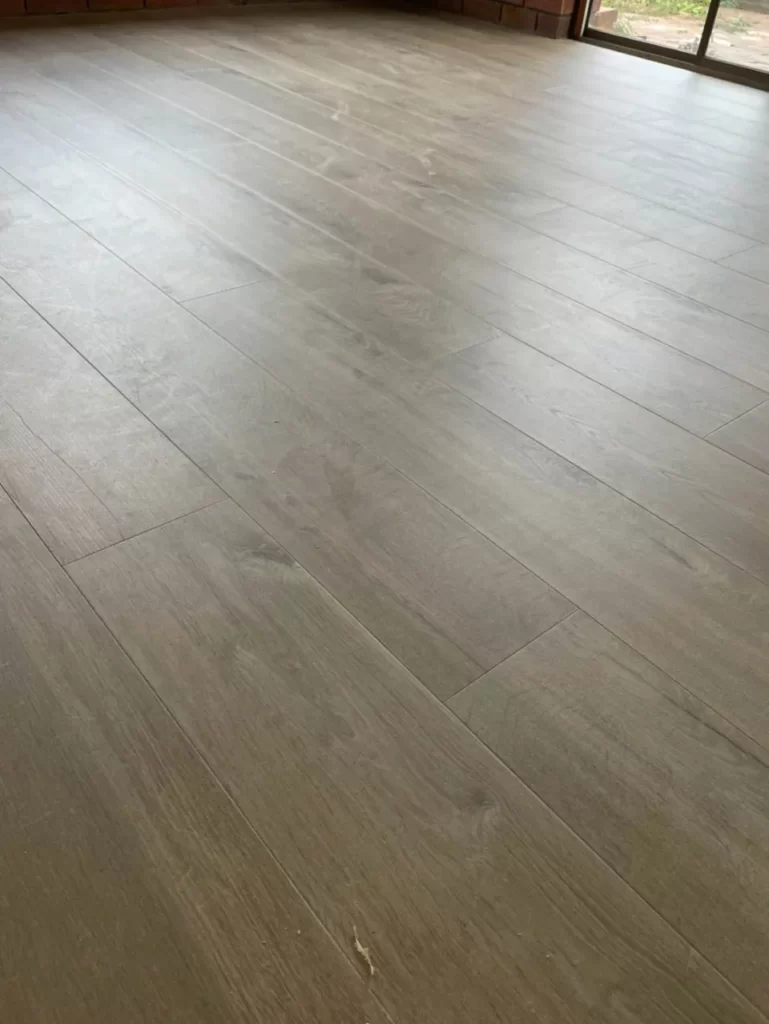
A common DIY project for home improvement these days is installing laminate flooring. Although it may be simple to install, a number of factors can result in a poor installation.
Incorrect placement of laminate flooring and a lack of subfloor preparation are the two most frequent mistakes made when installing laminate.
When installing laminate flooring, it’s crucial to keep away from these common blunders. For more, read this blog’s remaining posts.
What is Laminate Flooring?

Before we get started on the typical mistakes made when installing laminate flooring, we thought it would be useful to define laminate flooring. Laminate flooring is a composite material and is not made of wood, ceramic, or cork. It typically has several layers, including an underlayment, a base layer, a design layer, and a protective clear coat layer. With the help of all of these layers, you can get a durable, stain-resistant look that is realistic but affordable. As promised, let’s move on to some common mistakes to avoid.
10 Common Mistakes When Laying Laminate
Laying Laminate in the Wrong Environment
Although durable, laminate flooring only lasts well in the right setting. Laying laminate flooring in areas that are constantly moist is a mistake. Along with busy kitchens, this also applies to restrooms and utility rooms.
If you absolutely must install laminate flooring in these rooms, such as the kitchen, you must make sure that it is sealed against moisture. If not, over time your flooring may bubble, warp, and become discolored.
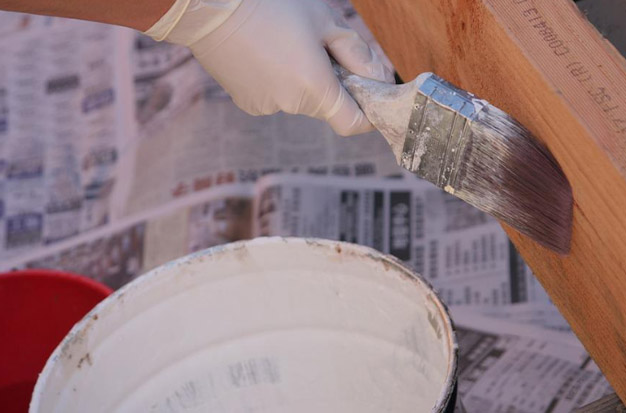
Failing to Seal Laminate Flooring
It is still a good idea to seal your flooring even if you decide to install laminate flooring in areas that don’t receive a lot of moisture. By doing this, you can shield it from liquid-related mishaps like spills, water tank bursts, etc.
To prevent warping or discoloration, choose a glue or silicone caulk sealant, and make sure to promptly clean up any spills.
Not Checking Your Laminate Flooring is Level
A level surface is crucial whenever you are working with flooring. This is particularly true for laminate flooring, as even minor unevenness can eventually cause the boards to warp or buckle. Making use of a spirit level while installing the flooring is one way to solve this issue. The boards will be more securely aligned and less likely to move out of place as a result of this.
After installing the flooring, periodically checking the level will help you avoid unevenness issues. Any issues will be discovered in this way, helping to prevent damage from occurring. You can contribute to ensuring that your laminate flooring stays in good condition for years to come by taking these easy precautions.
Not Checking for Damage
Your flooring may be brand new, but that doesn’t mean it’s not damaged. As the final inspector, you must look for any damage that may have occurred during production or shipping. Damaged laminate flooring looks bad and may be difficult to install properly, for example if a connecting tab system is missing. Check your laminate flooring in advance, though it might seem tedious. The last thing you want to do is have to disassemble everything and then reassemble it all simply because you overlooked a damaged component.
Not Leaving Room for Edge Expansion
When installing laminate flooring, expansion is one of the most common mistakes to avoid. In order to expand as necessary, the majority of laminate flooring types require a little extra space. If you don’t allow enough space for expansion, the planks will eventually start to buck and warp. Your floor may suffer serious harm from this, and repairs could be very expensive.
Always remember to leave at least a quarter-inch of space all the way around the room when measuring for your laminate flooring. The flooring will have plenty of room to expand in this manner without any issues. You will have lovely, perfectly-fitting laminate floors for many years if you bear this in mind before beginning your project.
Forgetting About Floor Acclimation Time
The process of allowing new flooring to acclimate to the temperature and humidity of the space where it will be installed is known as floor acclimation. With hardwood floors, which can expand or contract depending on the amount of moisture in the air, this is especially crucial. Most industry professionals advise waiting at least 48 hours before installing hardwood planks to give them time to acclimate.
However, many people make the error of overlooking this significant step, which can cause issues later. When the boards are not given enough time to expand before being bolted down, gaps and unevenness may occur. In other circumstances, the boards might swell excessively and wind up buckling or warping. In either case, it’s crucial to keep in mind that the installation process cannot be completed without floor acclimation.
Using the Wrong Tools
To install laminate properly and prevent damage to it during the process, special tools are needed. An effective installation can be aided by a tapping block, pull bar, edge spacers, glue, and a rubber mallet. To make your life easier, you should also use a utility knife, specialized saw blade, or oscillating tool when cutting laminate flooring.
If the wrong tools are used during installation, the flooring may be damaged or the installation may not turn out well. You’ll be happy you took the time to prepare yourself in advance with the right equipment.
Failing to Prioritize Expansion Joints
Expansion joints must be included in your flooring if you’re installing laminate flooring over a large area that is more than 22 feet wide or 32 feet long.
For the reasons mentioned above. Due to its interconnected nature, laminate flooring is vulnerable to warping and buckling over a sizable surface area without the support of these joints. Basically, these joints allow the flooring to swell and shrink as needed without getting damaged.
Neglecting the Finer Details
The “devil” is, as they say, “in the details.” And if you follow through and finish the job to the last detail when installing laminate flooring yourself, it will make all the difference.
The distinction between flooring that appears to have been professionally installed and flooring that appears to have been DIYed can be seen here. Flooring transitions should be finished and perfected with care. Install those quarter rounds correctly and replace all of your moldings in a proper manner.
Poor Floor Maintenance
While installing laminate flooring doesn’t really have anything to do with this, you should give your flooring’s maintenance a high priority if you want it to last. Once more, you should read the manufacturer’s instructions on laminate flooring maintenance.
This means that you shouldn’t use steam cleaners or wet mops on the majority of laminate floors. Always clean up spills and mishaps right away. Use the proper floor cleaner and stay away from corrosive chemicals that could strip and damage the floors.
Final Thoughts on Properly Installing a Laminate Floor
It’s definitely doable for a beginner to intermediate DIYer to upgrade the flooring in your home with laminate. However, there is a little more to it than simply putting down laminate floors, so take the time to read the instructions.
Don’t think that laminate floors will ever be able to replace or match real hardwood floors in value either. Hardwoods dominate the majority of home interiors.
FAQs
Where Should You Not Put Laminate Flooring?
Many professionals will advise you to stay away from installing laminate flooring in moist areas like bathrooms, laundry rooms, saunas, enclosed porches, and places that might need wet mopping.
What Not to Do With Laminate Flooring?
Avoid using abrasive cleaners and harsh tools, such as bleach and ammonia, which can damage surfaces permanently even when used in very small amounts. Even if you believe it will remove a stain, you should avoid using acetone and nail polish remover.
What is the Best Starting Point for Laying Laminate Flooring?
Installing the planks should be done in the same direction as the primary light source, starting in the left corner of the room’s longest wall (i.e. the main window). Installation of planks is always done from left to right.